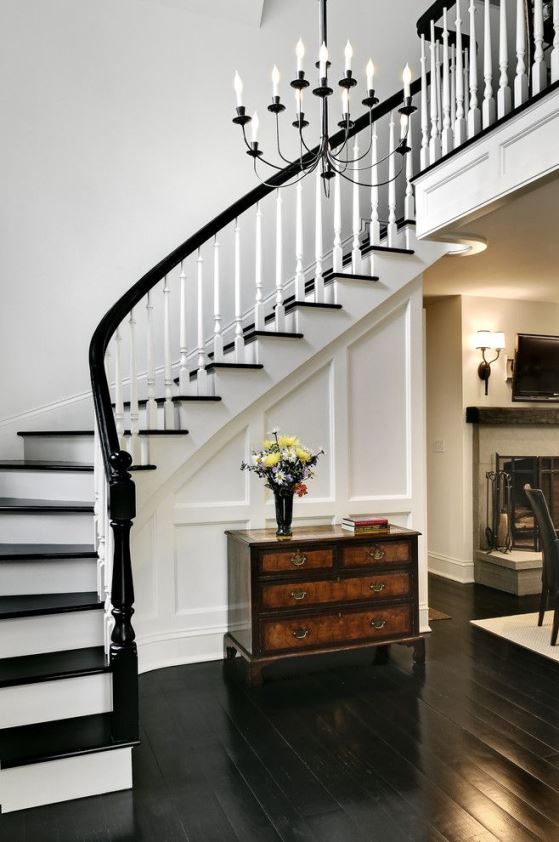
Radiators are not so beautiful, placing them at a not so practical location can make trouble. Of course, they can be changed to another type of heating solution. Details: https://blog.classicinteriors.hu/?p=8844&lang=en. If they have to be there, bring the most out of them.
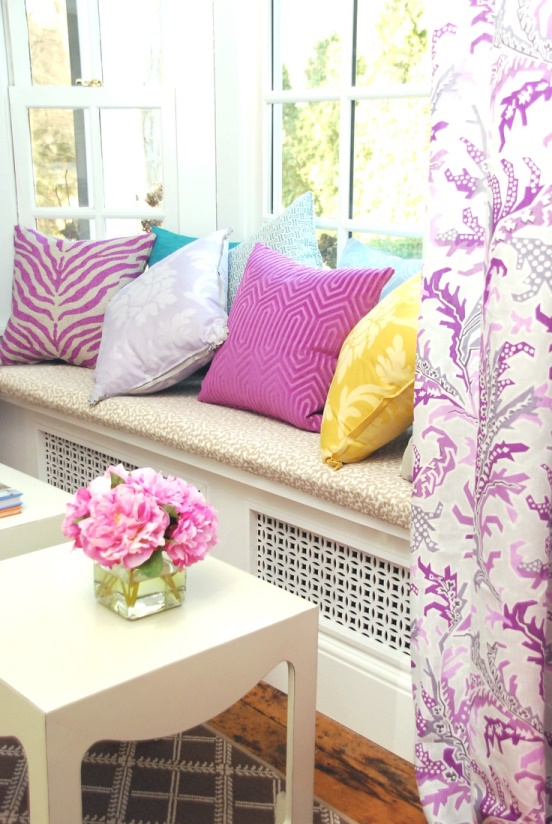
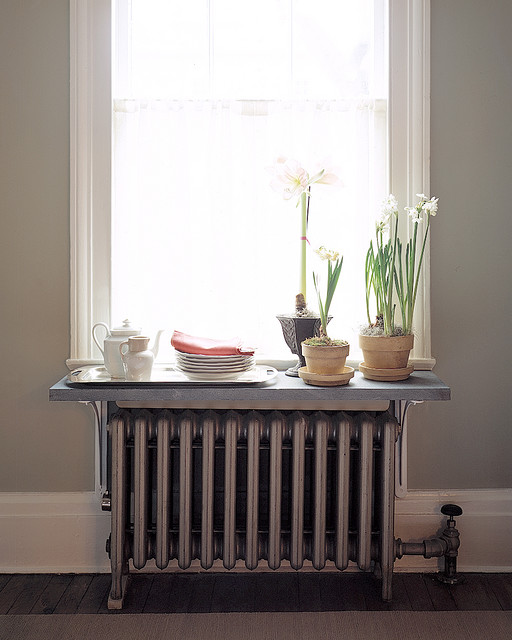
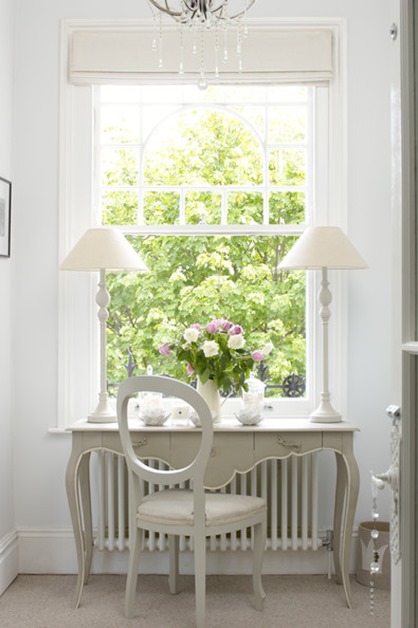
In Hungary, radiators are placed under the windows most of the cases. The demand to use this space also can occur especially in small flats. A simple console table gives an immediate solution. Push it over the radiator and it will be a useful storage place. The whole radiator can remain open with this method. Take care of putting only heat resistant objects there in the heating season
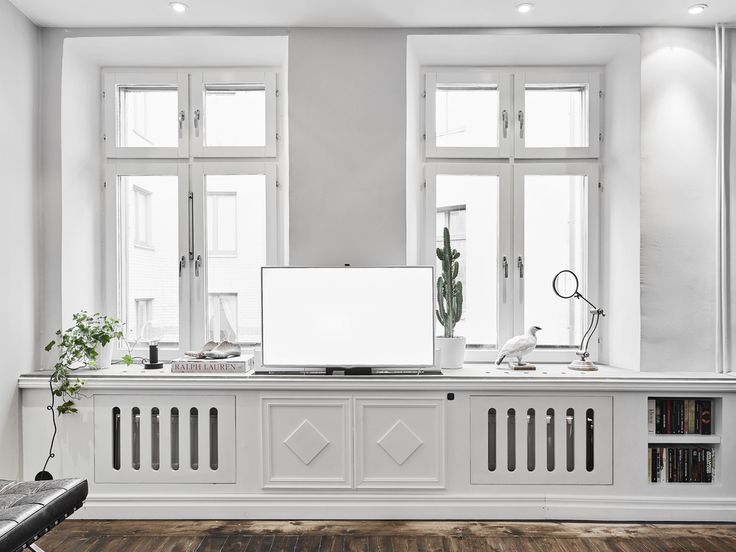
Certain parts of one-piece, custom-made cabinets – built-in the full width of the wall with the windows – might contain the radiator. They should have densely perforated doors for letting the heat to flow. If the other parts have doors with the same design, but only with a half-cut pattern, the harmony will be more perfect.
Let’s fix a floating shelf between the radiator and the windowsill. The shelf can be placed even on consoles fixed on the wall on the two sides of the radiator also. This is a solution for using the narrow windowsill also, for example for potted plants.
If the replacement of the radiators is necessary anyhow, there will be a possibility to implement a seating bench by choosing low but longer heaters, which can be useful parts of a dining corner or a reading nook, for example.
If we would like to hide only the radiator without building, let’s paint it to the color of the wall or the furniture with the proper heat-proof paint.
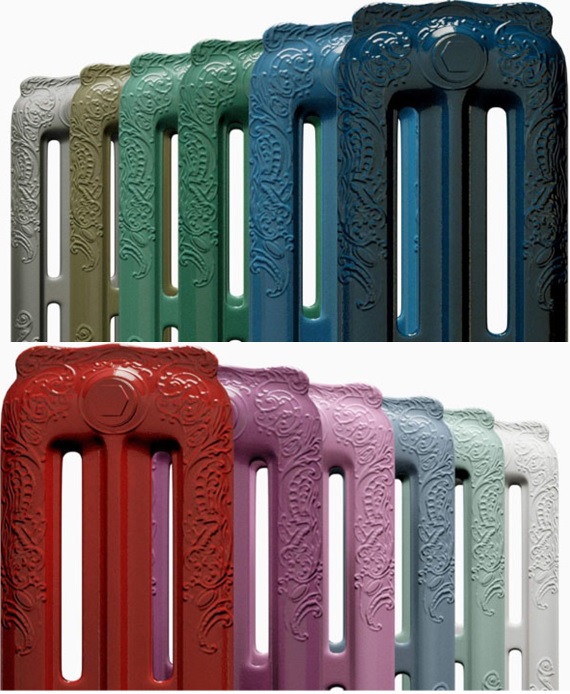
If luckily there are old cast iron radiators in good condition, do not change them to modern flat ones, because cast iron provides heat more intensely. Cast iron radiators can be purchased in shops again, which can be ordered in variable colors, this way there’s no need compromise for classic style.
The things mentioned above don’t regard to convectors due to open flame! Ask for help of an interior designer for planning.
Archives
Party decor
DIY decoration ideas for birthday parties


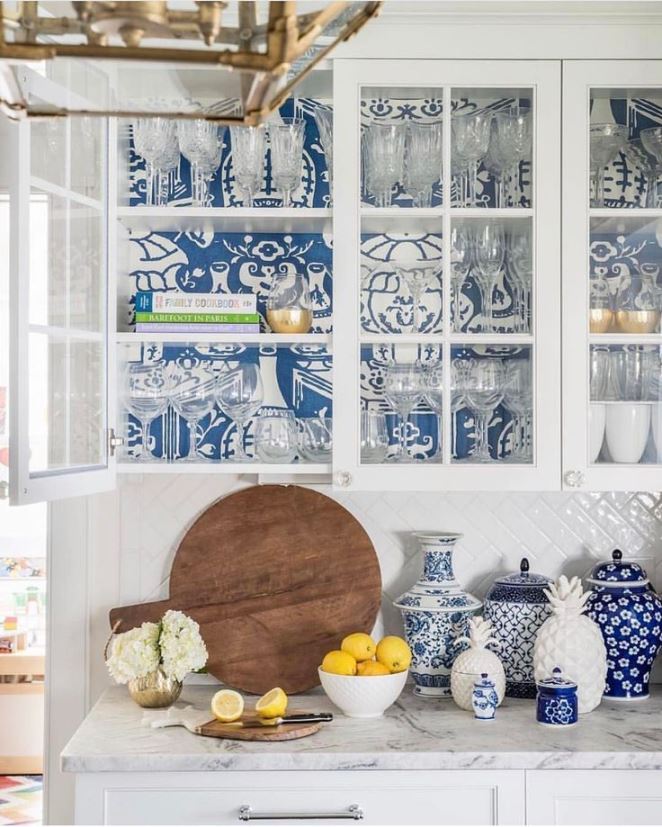
Blue in the kitchen
Blue is not a food-color, so use in a low key in the kitchen


Woods
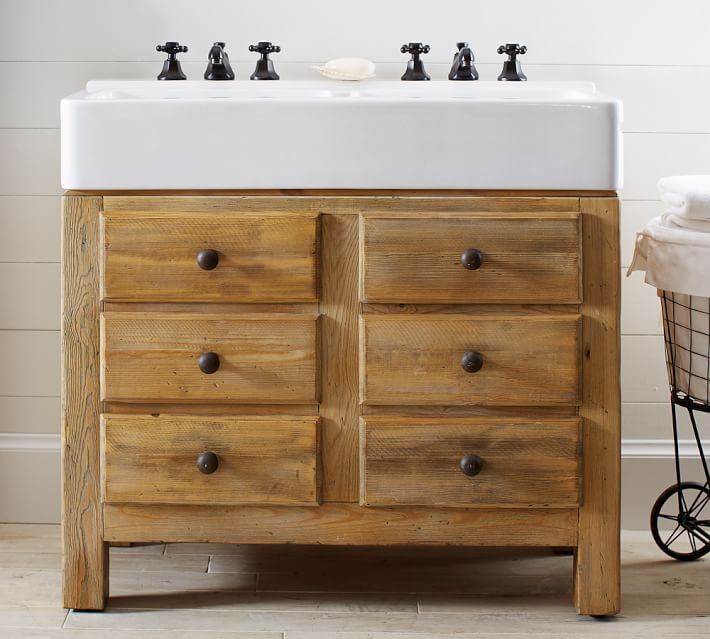
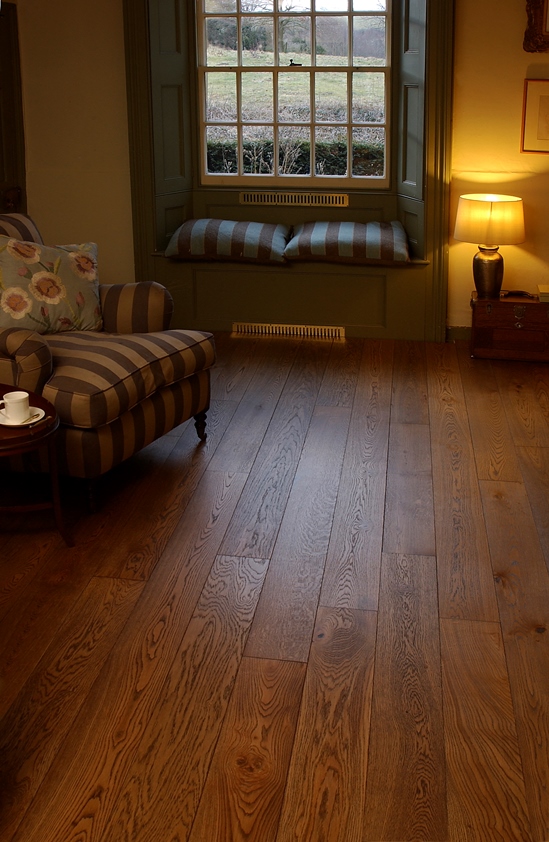
Usage of natural wood has a prominent role in interior design. Mankind used it in their homes from the very beginning, because it always meant an easily accessible, workable and decorated material. Floor covering, furniture, wall paneling, domestic objects, decorating ornaments were made of it, moreover still whole houses are built using only wood.
Wooden materials are separated into two groups: softwood and hardwood. It refers to the hardness of the material, how resistant it is against mechanical impacts. The elements of the previous group (e.g. pines, aspen, willow) are much more easily workable, but the latters (e.g. oak, beech, ebony) are much more durable.
When using wood, care should be taken to ensure, the used material is not faulty, since the durability and aesthetics of the product is the issue. The stunted growth (e.g. tortuosity, knur), spots caused by pests (e.g. fungus, dry rot, wood-beetle) and by inappropriate storage (e.g. casting, crack) worsen the capabilities of usage. A good professional notices these and chooses only fine quality material.
The surface of the wood should be treated. This could be oiling, when the oil soaks into the surface, but the nervure and the original color remains clearly visible. This is true for waxing also. Lacquering creates a translucent protective layer on the surface of the material. After burnishing the nervure remains visible also, but the color changes. Painting covers both the color and the pattern of the wood (in case of a less decorative wooden material, this is a good choice).
Examine with a professional’s eye the wood furniture or building elements, bought used or brand new. In case of uncertainty, ask for help of a wood specialist about the chosen pieces before purchasing.
If you also would like to see the beauty of solid wood in your home, ask for help of an interior designer for planning.

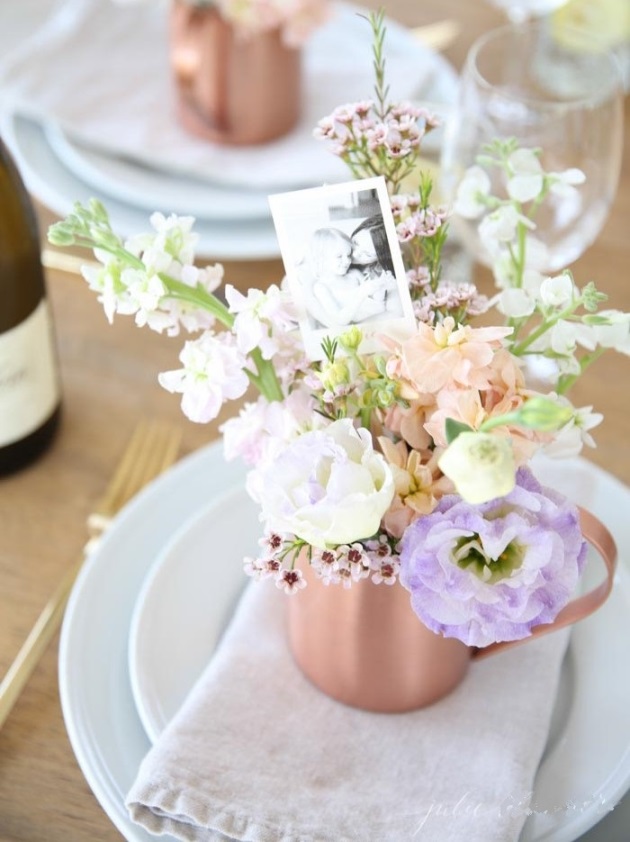
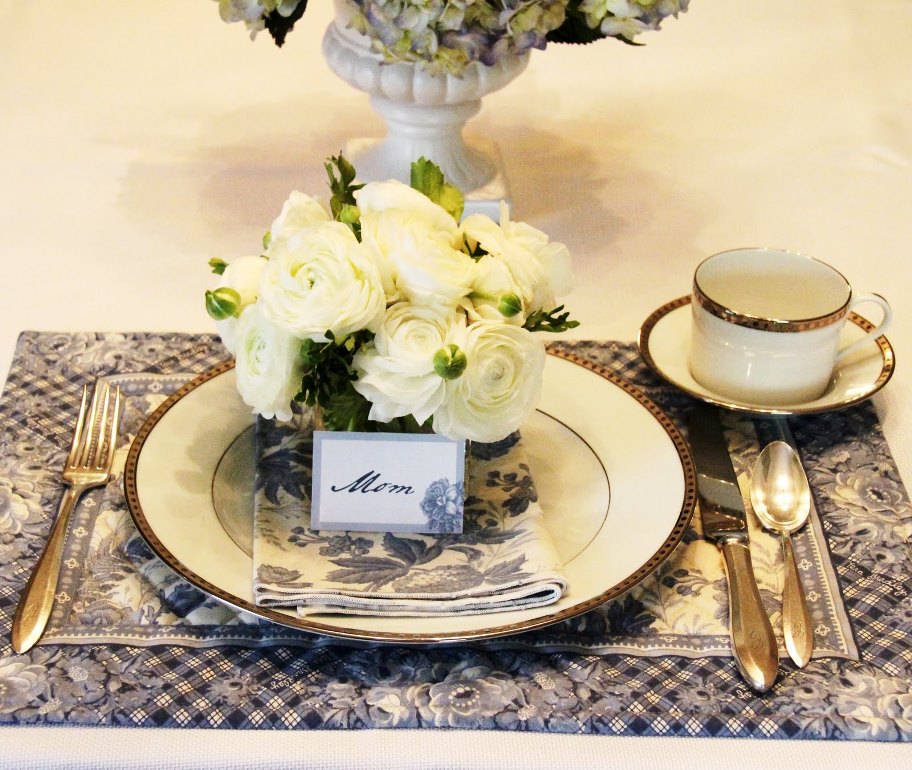
Mother’s Day table setting
Elegant table setting belongs to the Mother’s Day surprise dinner
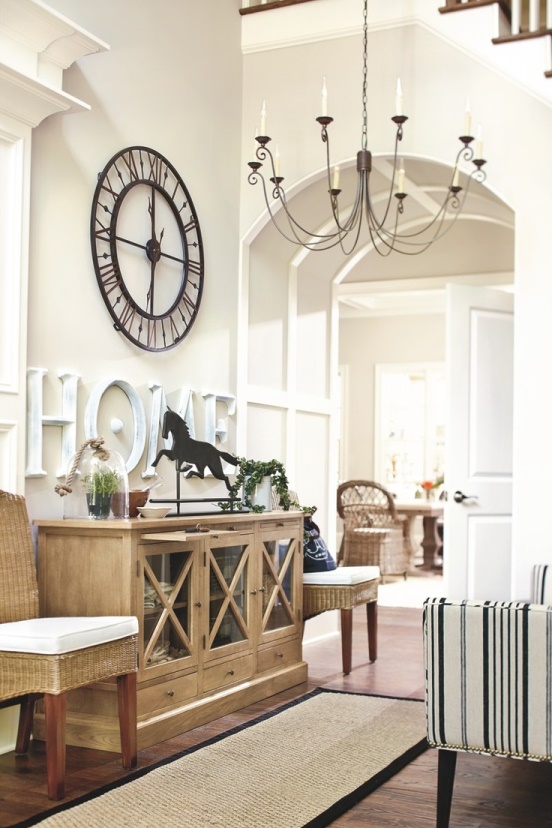
Wall clocks
The good wall clock not only functional but fits perfectly into the style of the interior

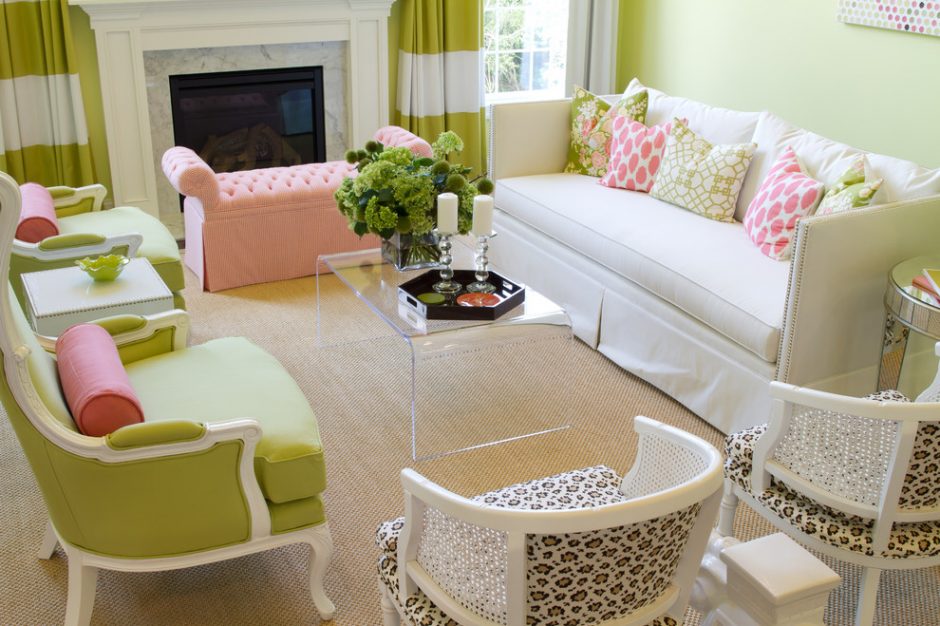
Color pairs 24.
Color pairs: green-pink


Wallpapered cabinet
Put wallpaper into boring cabinets for making them unique furniture


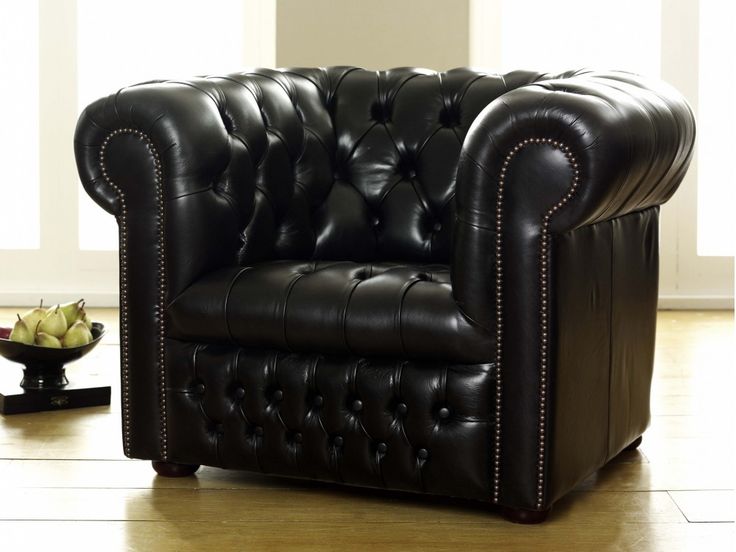
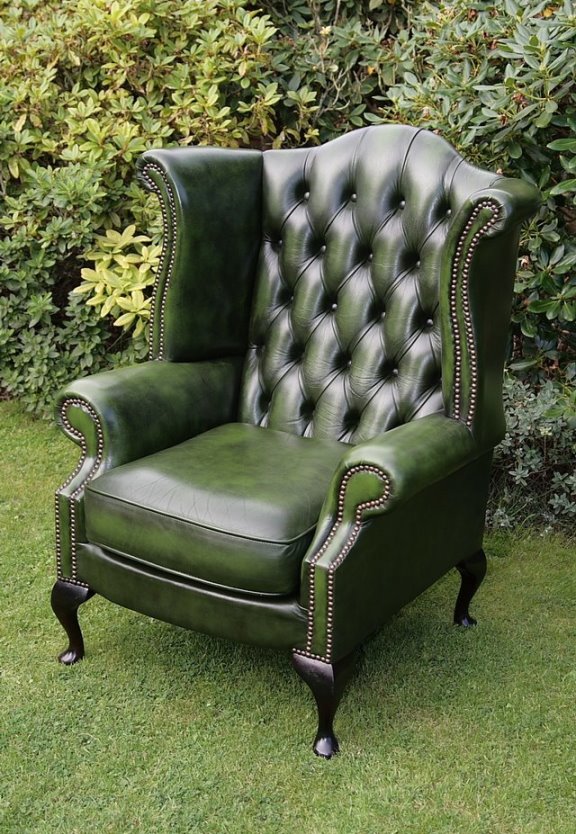
Chesterfield furniture
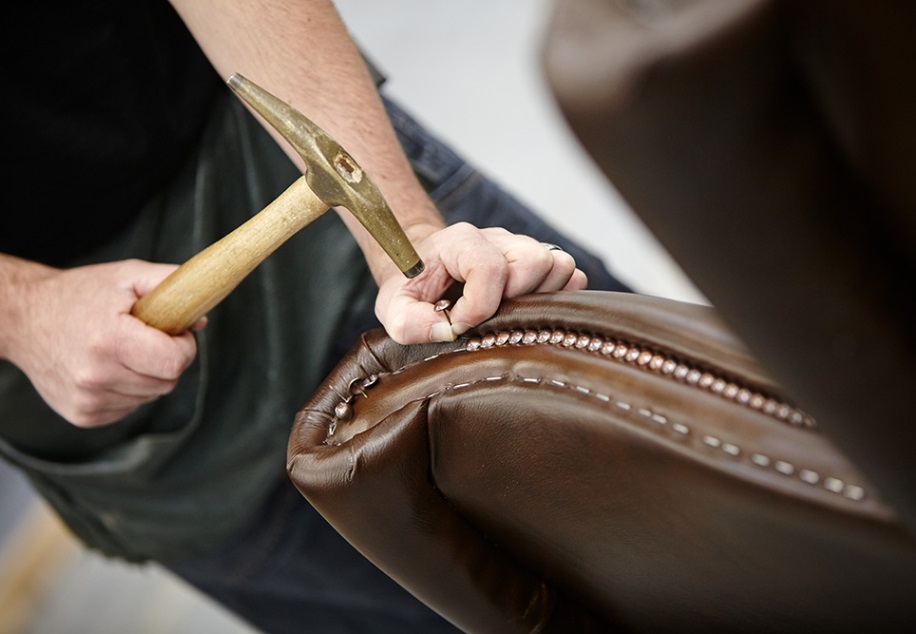
Chesterfield sitting furniture has a long history. Lord Philip Stanhope, 4th earl of Chesterfield was the first one who made this kind of unique sofas and armchairs produced in the 18th century. His aim was to provide comfortable sitting for men without crumpling their clothes.
Main parameters of the sofa: straight-lined low back, leather upholstery, deep buttoned quilting, cylindrical arm, decoration bolting. Original Chesterfield products are still made by hand. The frame is hardwood, mainly beech, which is carefully dried, treated, incidental defections are removed, so the furniture will be much more durable. The upholstery is made of only the highest quality real leather which is painted. Leather improves by time and usage. Springs are fixed one-by-one to their place by hand. All of them can move individually, this provides comfort and keeping the shape. Padding is made of a mix of foam and fiber which is fireproof. Tensile strength, density-distribution, weight-loss and lasting of the foam are tested. Bolts are staved in one-by-one for hiding stitching by hand, just like buttons are sewn.
Chesterfield sitting furniture were always status symbols. Many factories have copied its shape. Nowadays it is produced not only with leather, but fabric and velvet upholstery also. It can be bought in almost all colors beside the traditional brown, red, dark green and black. It fits for several styles, not only in masculine interiors.
The name of Chesterfield is synonymous with elegance, comfort and style. Ask for help of an interior designer for choosing the proper piece fitting for your home.


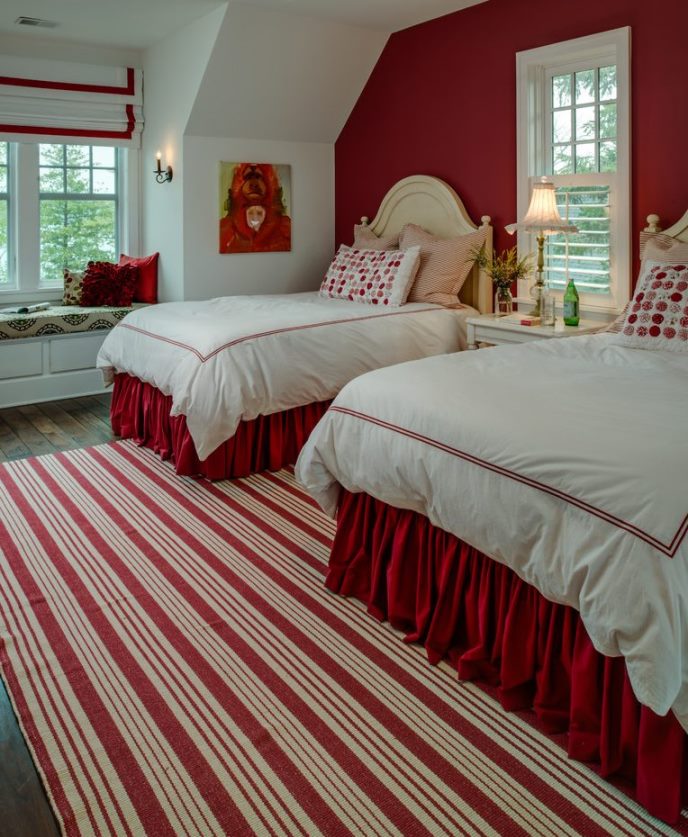
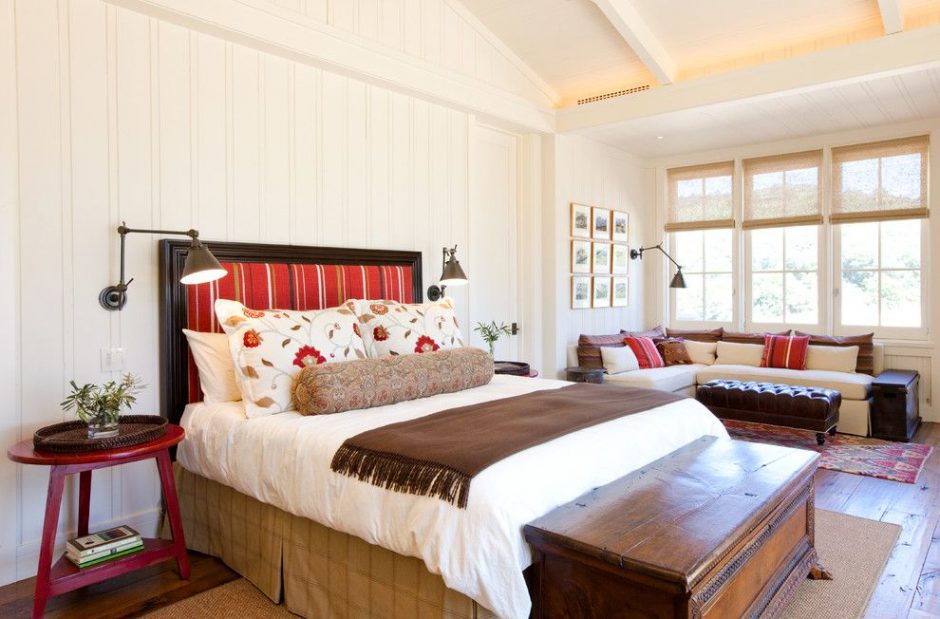
Red in the bedroom
Red is a very intensive, stimulating color, therefore in the bedroom it shouldn’t be visible from the bed in favour of calm rest